
 Contact Us
 Blog
Blog About
About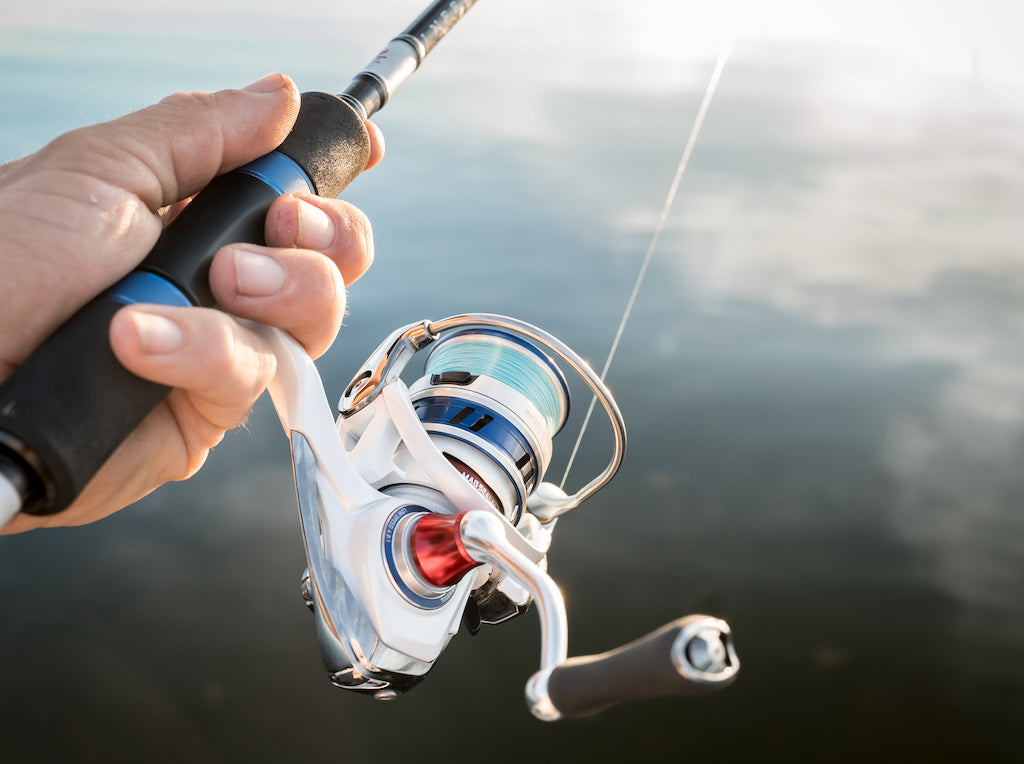
HOW TO REMOVE THE KNOB ON A SPIN REEL- TECH TIPS
Good day Daiwa fans and welcome to another Daiwa Tech Tip. Last time we talked about spinning reels and in particular, the handles, how to remove them and how to swap them over. This time, we are going to follow a similar path, but we are going to look at the knobs, how to take them off and of course, how to swap them amongst reels. When it comes to knobs, there's two main types. Those that are riveted to the handle and those that are screwed on. Now, the riveted variety are very much the domain of our mid and entry-level reels. While the screw on tops belong to the mid and high end ranges. When it comes to removing and swapping knobs on riveted variety, sadly, there's not many options. If you want to swap or change the knob regretfully, you need to change the whole handle.
Now, when it comes to removing and swapping a screw in knob, the process is very straightforward. However, there are a few tools you're going to need. You'll need one of these curly little fellas, a screwdriver, and you quite possibly will need one of these. Let's run through the process. Now here we have a fairly typical light tackle spin reel. We grab our little curly tool, now your finger goes through the hole, that little hook on the end, that goes in the hole of the end cap. It enables you to pull out that cap. You place it on the table. Now, I recommend when you do this, that you line everything up in the order that it comes out. So, we get rid of that tool. Screwdriver. Now these knobs are made for Phillips or flats, I prefer to use flats because I find you're less inclined to chew the screw out, sometimes our screws can get a little bit tight, so you want to be careful.
Now we unscrew the screw until the knob comes off. Inside your knob, you're going to have either bearings or bushes. Bushes are generally on your mid to lower and reels. While you get higher up in the price range, they generally put bearings within those knobs. So, we can take those out. So, there's one at the top and one at the bottom. There's the little one from the top and there'll be another one at the bottom. So, two bearings or two bushes per knob. There's your knob, and on the shaft here, you will generally have a little washer or shims [inaudible 00:02:55]. Always make sure that guy stays there. Now the process to install is simply a reverse, bearing on, then your knob, top bearing old bush, slide that down, that'll pop over the top of the shaft. Here we go. And then insert your screw. Can be a little bit tricky to get that center at times, screw down.
Now, I also recommend a few drops of oil if you're doing a bit of maintenance or you're installing a new handle. Pretty much any time that you take the knob off, a little bit of lubrication always makes things run a bit smoother. There we are, get it tight. And the cap goes in the end. Give it a spin, make sure it spins well. Now, if you have too much lateral play, you can add another one of those shims or another one of those washers. However, don't add too many because if you add too many, it's going to get too tight and it won't spin freely. Now, one of the other knob types you'll increasingly come across is one of those guys, a Neo or a neoprene knob. Now you'll notice our standard little curl tool won't fit in there, and that's where this guy comes into play. So, on the end of here, you'll have a couple of little holes. You line it up and you unscrew. So, this cap screws out rather than pops out. Screw, place on the table. Same deal, in there, you have a Phillips head screwdriver.
Unscrew. I think that's just a bit out. Same deal, lay it out on the table, there's our screw. And inside this one, we have two bushes, they are nice and clean. Little shim there. Okay. So, let's put it back on, slide it down, put that bush into place. Screw in. Nearly there. Done, grab this guy and we screw it in. Screw. Grab that little key, tighten that up. So, there we are, two simple knob removals and installations. So, there we are guys, a rundown on how simple it is to remove and install a knob. The process is the same, whether it's from a really small bream reel, all the way up to a big salt Tega. Sometimes however, as we've seen, the tools vary a little bit. Nonetheless, the process is the same. Good luck and happy fishing.

Meet Simon Goldsmith
Daiwa Marketing
A Daiwa Fan Boy at heart Simon loves nothing more than loading up his bass boat with Daiwa gear and JDM tackle and hitting his local lakes in search of bass or packing the boat and car for a trip to North Queensland chasing sooty grunter and mangrove jack.

